
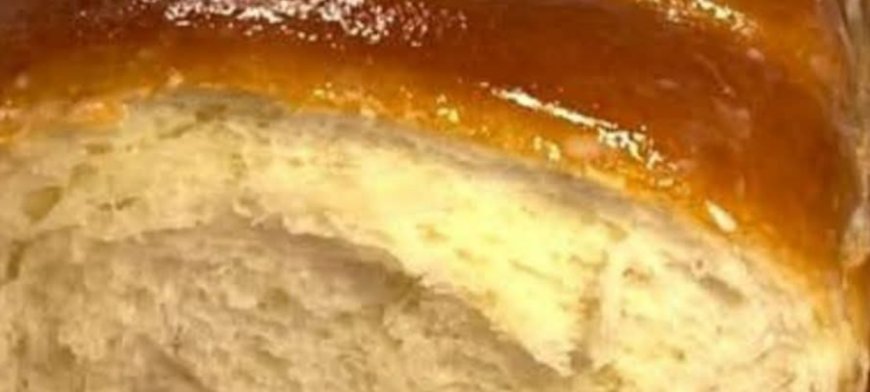
Gluten-Free Milk Bread
Of course. Here is a detailed recipe for a wonderfully soft and fluffy Gluten-Free Milk Bread. This recipe uses a blend of gluten-free flours and a tangzhong (a cooked flour paste) to create that signature soft, tender, and moist texture that lasts for days.
Gluten-Free Milk Bread (Tangzhong Method)
This recipe yields one standard loaf.
Part 1: The Tangzhong (Flour Paste)
This is the secret to incredibly soft and springy gluten-free bread.
25 g (about 3 tbsp) gluten-free bread flour blend (see note below)
120 ml (½ cup) whole milk or water (or a mix of both)
Part 2: The Dry Ingredients
300 g (about 2 ½ cups) high-quality gluten-free bread flour blend (See crucial note below!)
7 g (1 packet or 2 ¼ tsp) instant yeast or rapid-rise yeast
30 g (2 ½ tbsp) granulated sugar
6 g (1 tsp) salt
1 tsp xanthan gum (omit if your blend already contains it)
Part 3: The Wet Ingredients
120 ml (½ cup) warm whole milk (about 110°F/43°C)
1 large egg, at room temperature
40 g (3 tbsp) unsalted butter, melted and slightly cooled
The prepared tangzhong (from Part 1), cooled to room temperature
Part 4: For Brushing
1 egg yolk + 1 tbsp milk (for a golden shine)
Or, melted butter (for a soft crust)
CRUCIAL NOTE ON FLOUR:
You must use a gluten-free flour blend designed for bread-making. All-purpose blends like Cup4Cup or Bob’s Red Mill 1-to-1 will work well. Do not use a single flour like almond or coconut flour. The blend should contain starches and binders like xanthan gum.
Instructions
1. Make the Tangzhong:
In a small saucepan, whisk the 25g of flour and the 120ml of milk until smooth.
Place the saucepan over medium heat and cook, whisking constantly, until the mixture thickens to a paste-like consistency (about 2-4 minutes). It should leave visible lines when you whisk through it.
Immediately transfer the tangzhong to a clean bowl and cover the surface with plastic wrap to prevent a skin from forming. Let it cool to room temperature.
2. Combine Dry Ingredients:
In the bowl of a stand mixer fitted with the paddle attachment (not the dough hook), whisk together the gluten-free bread flour, instant yeast, sugar, salt, and xanthan gum (if using).
3. Combine Wet Ingredients & Mix:
In a separate bowl or jug, whisk together the warm milk, egg, melted butter, and the cooled tangzhong until smooth.
With the mixer on low speed, gradually pour the wet ingredients into the dry ingredients.
Once combined, increase the speed to medium and beat for 3-5 minutes. The dough will look more like a very thick, sticky cake batter than traditional bread dough. This is normal.
4. First Rise:
Scrape the dough into a lightly greased bowl. Smooth the top with wet hands.
Cover the bowl with plastic wrap or a damp tea towel and place it in a warm, draft-free spot to rise for 45-60 minutes, or until it has puffed up significantly (it may not quite double, and that’s okay).
5. Shape the Loaf:
Lightly grease a 9×5-inch loaf pan.
Wet your hands or spatula (to prevent sticking) and gently scrape the dough into the prepared pan. Smooth the top into an even layer.
Optionally, you can score the top with a sharp knife or razor blade for a professional look.
6. Second Rise:
Cover the pan loosely with greased plastic wrap and let it rise again in a warm place for 30-45 minutes. Meanwhile, preheat your oven to 350°F (175°C).
The dough should rise to just about the top of the pan.
7. Bake:
Gently brush the top with the egg wash for a shiny, golden crust.
Bake for 40-50 minutes, or until the top is deep golden brown and the internal temperature registers 190-200°F (88-93°C) on an instant-read thermometer. This is the most reliable way to know it’s done.
If the top is browning too quickly, tent it loosely with aluminum foil for the last 15 minutes of baking.
8. Cool:
This is vital! Remove the bread from the oven and let it cool in the pan for 10 minutes.
Then, transfer it to a wire rack to cool completely before slicing. Gluten-free bread continues to set as it cools, and slicing it warm will result in a gummy texture.
Tips for Success:
Weigh Your Ingredients: For the best and most consistent results in gluten-free baking, use a kitchen scale.
Don’t Over-Proof: Gluten-free bread doesn’t need as long to rise as wheat bread. Over-proofing can cause it to collapse.
Cool Completely: Resist the urge to slice it while warm. Waiting ensures a perfect, non-gummy crumb.
Storage: Store cooled bread in an airtight container or bag at room temperature for up to 3 days. For longer storage, slice it, wrap it well, and freeze it for up to 3 months. Toast slices directly from the freezer.
Enjoy your delicious, homemade gluten-free milk bread
What's Your Reaction?